- Reviews (72)
- Questions (1)
- Sort by date
- Sort by rating
- Sort by content
- Sort by photo
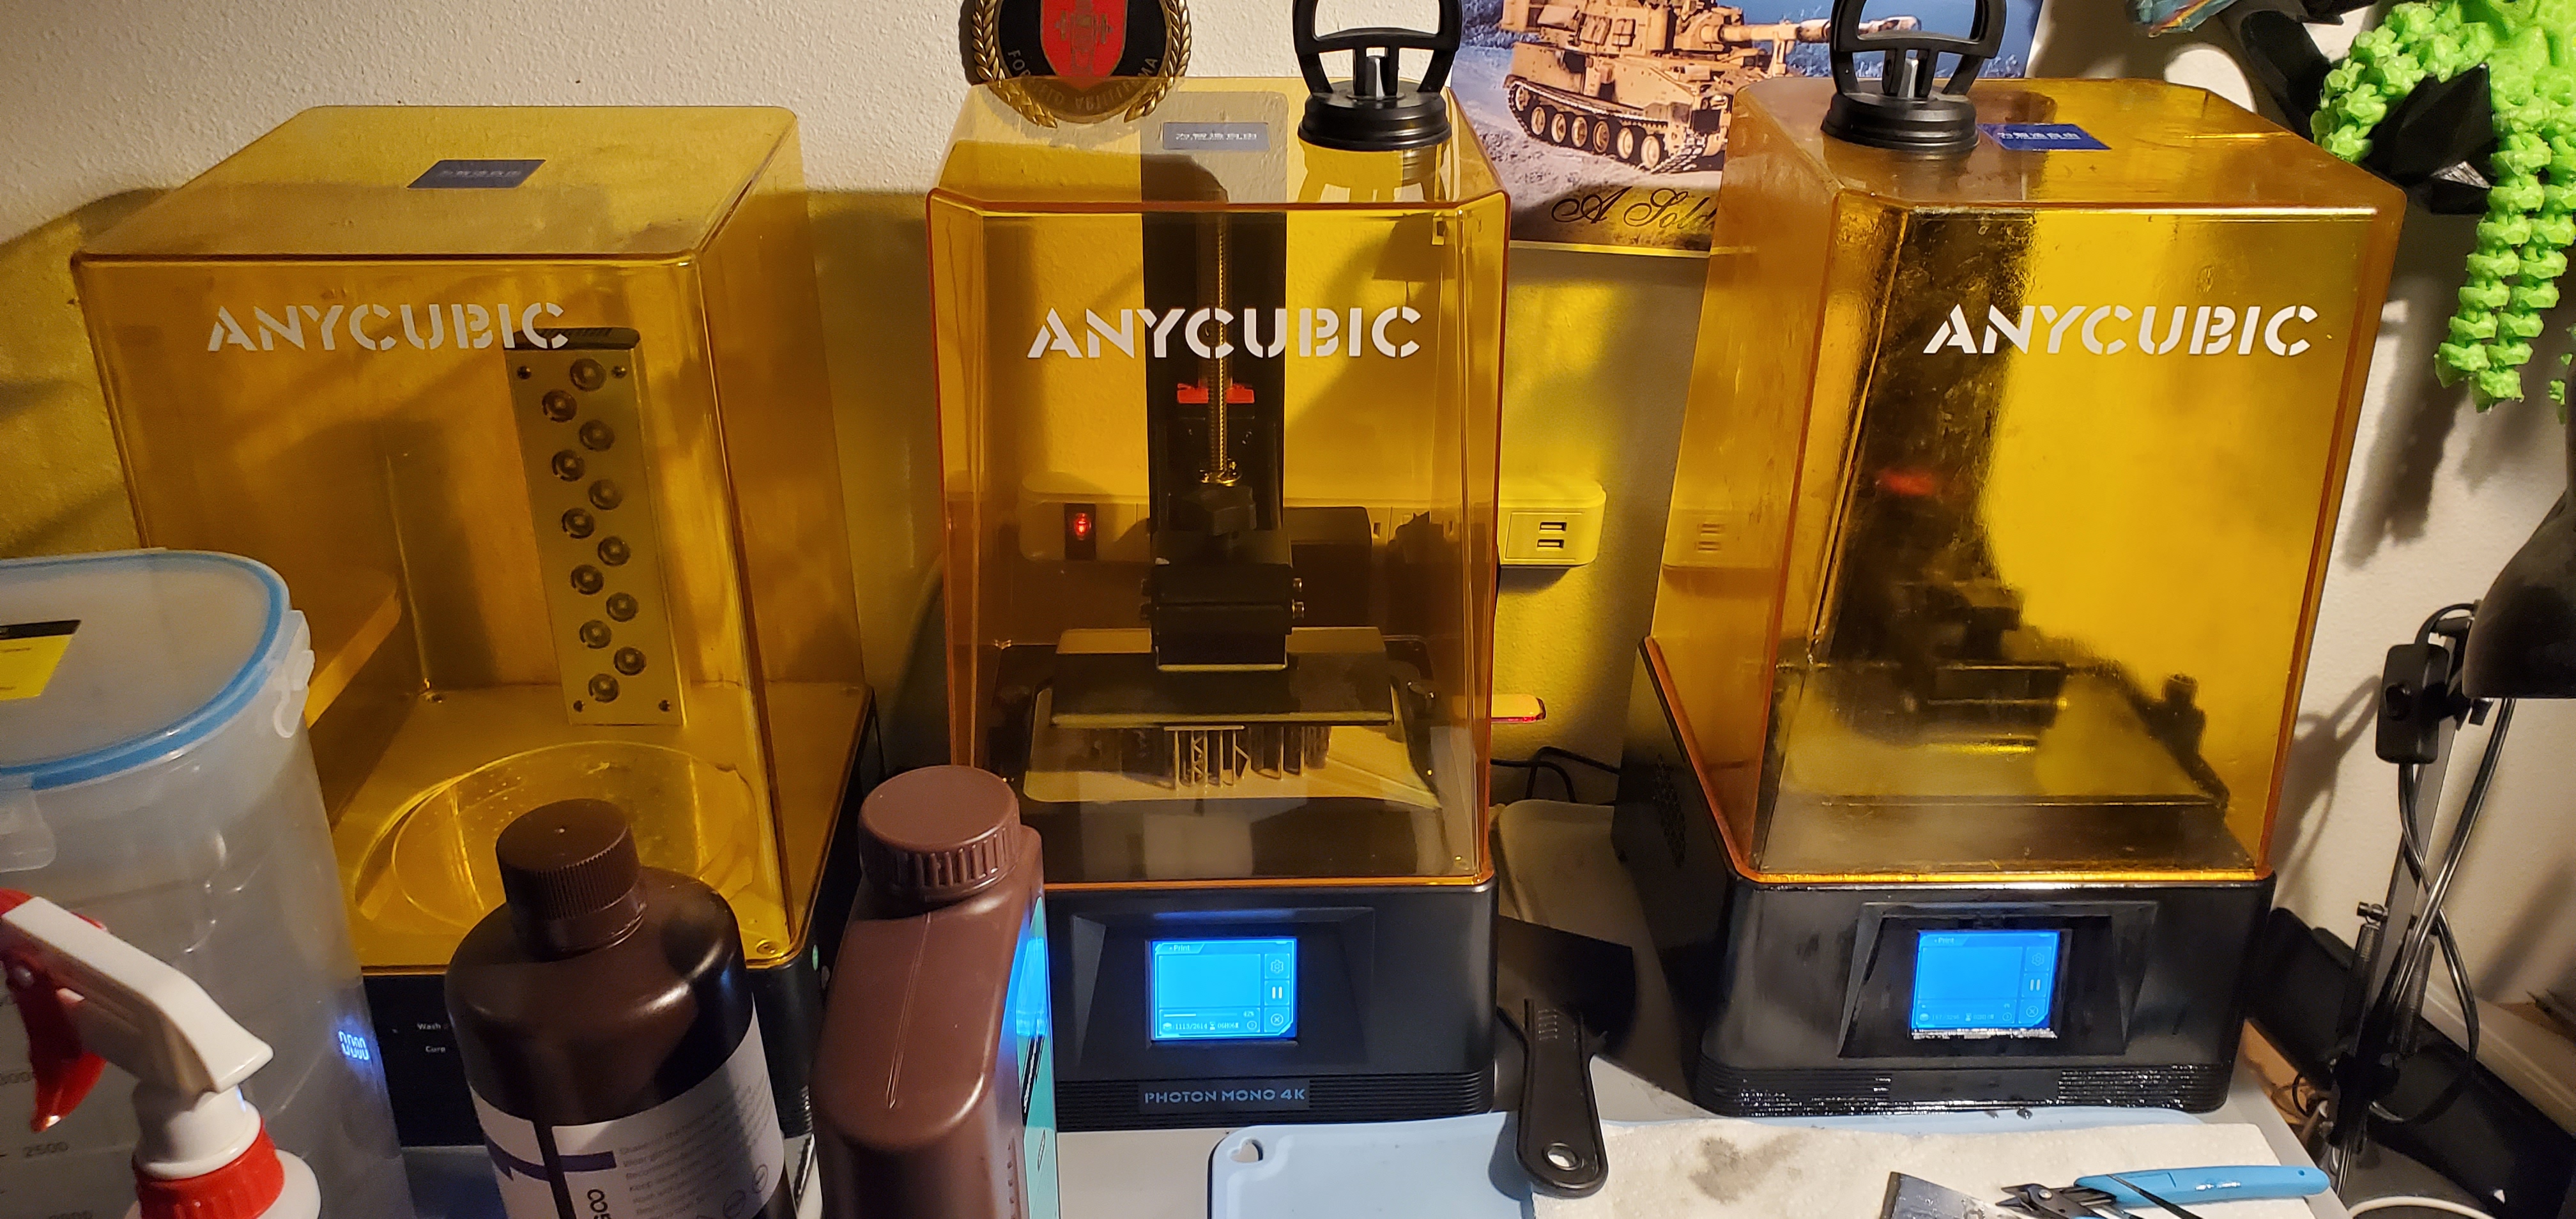
Absolutely love this printer the quality and capabilities are endless and shocking at times (that goes for many 3D printers in general) I 100% recommend this especially if its your first printer this was my first printer and all I wish is that the build plate was bigger 😉 I have had the printer for well over 5 months now and have yet to be disappointed. Most mistakes or mishaps with this printer were my own fault. For best results I no longer clean my vat after every print I don't even level it anymore after every print, I simply unscrew clean off the build plate re tighten do again and again. Simply level it first and you are good to go until your next failed print which isn't often especially when you know how to use supports. What's also a + is the Elegoo Mars vat is compatible with the Anycubic mono 4K you can purchase two of them off Amazon for cheap, so that also saved me a lot of headache when time came to be replaced. All in all best purchase ever made when it comes to modeling, wish I got one a lot sooner than I did 😁 Only complaint is the software is a little junky especially when your in the middle of touching up your supports and the program shuts down on you 😆

I bought the printer on May 13, good print quality, works well, BUT! I have to change the FEP film and I realized that you can't just change the film. It is absolutely necessary to have the film with the original frame. I can't print again until I order and receive a new set. It's completely ridiculous to have created a resin tank this way! I do not recommend this printer!
Very impressed with the entry level Anycubic Photo Mono 4k. This is my first 3D printer and wow what can I say, its brilliant. First and foremost this is a hobby in its own right, you're going to need time to understand how the printer works, software (some is included) to design, support and print your 3D resin items. This has quite the steep learning curve but thankfully there's a wealth of videos on YouTube to get you stated. Printer and plat calibration is fairly simple and instructions are clearly provided. Its going to take some trial and error and I wouldn't advise jumping in printing a multi-part complex model until you're competent with the setup (and removal) process. The printer itself does not come with everything you'll need, you'll also need resin, gloves, a UV light, a way to wash the model (iso-alcohol) so this brings me back to my first point this really is a full time hobby in its own right and requires a lot of time spent to really get the most out of it! Connectivity is really simple and my desktop PC had no issues recognising or communicating with the printer. Printing times can vary depending on the size of the model, how complex it is and how "dense" it is. You can save yourself a lot of time and money if you use the right support and hollowing software which will decrease the chances of a failed print and decrease the amount of resin required. The printer itself despite the very large box isn't that big, the plate for printing is perfect for 28-32mm scale models however for scenery it may just be a little on the small side (or you're going to have to print a lot of individual pieces). You can get a wealth of files (STLs) on the internet for free or if you go to something like Pateron you can find hundreds of dedicated creators building the 3D models where you then only have to pay a couple of ¡ê so that you can print them yourself. (must easier than learning to 3D model from scratch) Over all very happy with this as a great starting point into trying 3D printing. Certainly would recommend it and once you've got over the initial steep learning curve it really opens up a new world of miniatures outside of the mainstream producers.

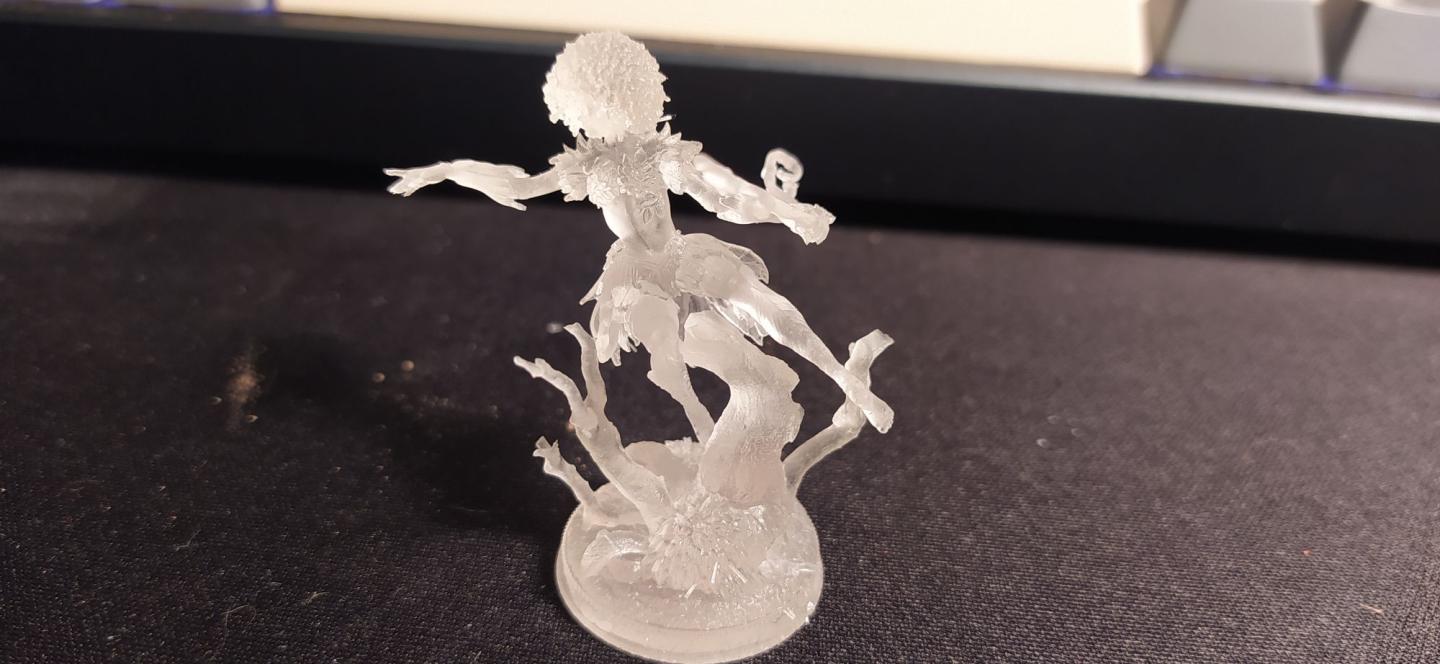
I have been using a FDM 3D printer for many years and have gone through a few different ones. In that time, I have seen the slow rise of resin printers with their vastly improved print quality and stronger prints. Once I took the printer out of the box, the first thing I noticed that it was pre-built, which is a change compared to most FDM printers. All you need to do it follow the levelling instructions, fitting the build plate (which you remove each time you print) and setting the level in the software. Once done, fit the resin reservoir and fill with resin to the required level and then set the print going. The supplied USB pen drive comes with a test print, which I would suggest is the first print as you know the print should work correctly. I did just this and a few hours later and I have a great demo print, fresh off the printer. When printing, the yellow UV filter lid must be fitted to prevent resin from being prematurely cured and reduce print vapours. A few important things with this print are that the printer does not come with any resin at all. You will need to purchase some to be able to print a thing. The others are that resin is toxic, so always follow the guidelines and wear PPE (they supply 3 pairs of disposable gloves), and a completed print still needs to be washed and cured. Washing is done depending on the resin type - most use an isopropyl alcohol wash but you can get some water washable resins now too. Curing is done using UV light. If you have a nice sunny day then leaving the print outside for a few hours is enough but if it is a typical British day, then you may need a UV light source. Failure to cure will leave the print being software than it otherwise can be. After taking the demo print off the bed and curing it, I was astonished how detailed the print is and how the print layers were all but invisible. The print was also extraordinarily strong for a lightweight thin frame print. Once you know the printer works, you can install the software on the pen drive to create print files of what you want to print - otherwise applications like Lychee can also be used. I have had successful prints with both software, although I have had a few failures that are due to the print file (I had shrunk some models and the legs didn't print properly). I have not had any adhesion issues on the build plate - everything has stuck well every time. Sometimes they stick too well and just getting the models off can be difficult. Overall, this printer is a great introduction to resin prints. I comes with nearly all you need but I would have liked a sample of resin to be supplied (enough to print the demo cube) and clear instructions on how to wash and cure prints. It was only reading online forums that told me it was required and the consequences of not doing it.

Hotep brothers and sisters and thank you for looking at my review of the. ANYCUBIC Photon Mono 4K, Resin 3D Printer with 6.23" Monochrome Screen, Upgraded UV LCD 3D what I like about this any cube it is an upgrade from their older version. It is an entry level 3D printer, so I guess it'll be 4 the beginner but try both versions to be a real winner. I like the fact that you can see through the yellow plastic your creation come to be so if it messes up you can stop it you see. I highly recommend my friend and I hope it was helpful for you. If so, you can check the helpful box below, it will help me review some More. God bless you. May the rest of your life be the best of your life. O DEE

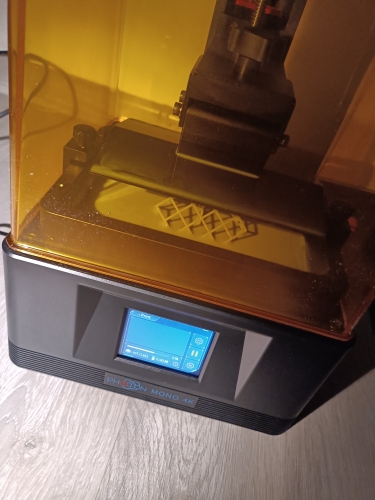
Spend the extra 20 minutes rechecking your setup for the first time and you'll get great quality prints. You'll probably hear it as a reoccurring theme check to make sure stuff is level, then check again, and when you think you're done checking check it one more time. Very happy with this little printer it does a great job. The detail is fantastic. I'm really happy that I picked this unit up.


Where my more serious problems come in with the product is the lack of adequate warnings about the danger of the UV resin you will be using (yes, even the bio-resin). This product comes with some flimsy disposable gloves and masks that actually do nothing to protect you from the resin and fumes, and the manual does not go into adequate detail on how dangerous this resin actually is. With repeated skin contact or even extended exposure to the fumes, the resin will cause severe allergic reactions, vision damage if it gets in your eyes, and needs to be taken to your local hazardous waste facilities when disposing. It CANNOT go down the drain. If it gets on your clothes, or if you use any containers to store the resin or the wash liquid, you will have to accept that those things are lost to the printer and are now biohazardous waste. While it might look like a product that you can just assemble out of the box and get started printing right away, it would be wildly unsafe to do so. You need a wash station and a cure station (you can try and DIY, or buy the anycubic brand wash&cure station as it works really well). You cannot handle anything you print without gloves until the product is cured, and the only way to reliably cure your prints is with direct UV light. I also had to buy an expensive respirator that actually protects from the fumes, along with better gloves, trays, and lots of isopropyl alcohol. All in all it came out to over an extra $200 on top of the printer for what I would consider the bare minimum in safety equipment, which you could make cheaper with DIY. Location is super important too. I originally set this up in my bedroom by an open window and fan thinking it would be ok, but it turns out this is super dangerous and I have contaminated my entire room and risked the health of me and my partner. It is necessary to have a seperate space away from all living areas that is well ventelated. We are setting up a large cardboard enclosure in the garage with a vent going directly from the box to the outside to attempt to keep the fumes out of our house. This can not go in a bedroom, bathroom, or living room. Ideally the printer should have its own dedicated space, away from any sunlight, that you only enter with full safety gear. In summary, if you know what you are doing then this is awesome for getting some small extremely detailed prints and is a good beginner resin printer. However, don't impulse buy a resin printer! Do your research, and make sure you're ready to accomodate such a hazardous machine.